Duncan Busby on how to get the extra edge.
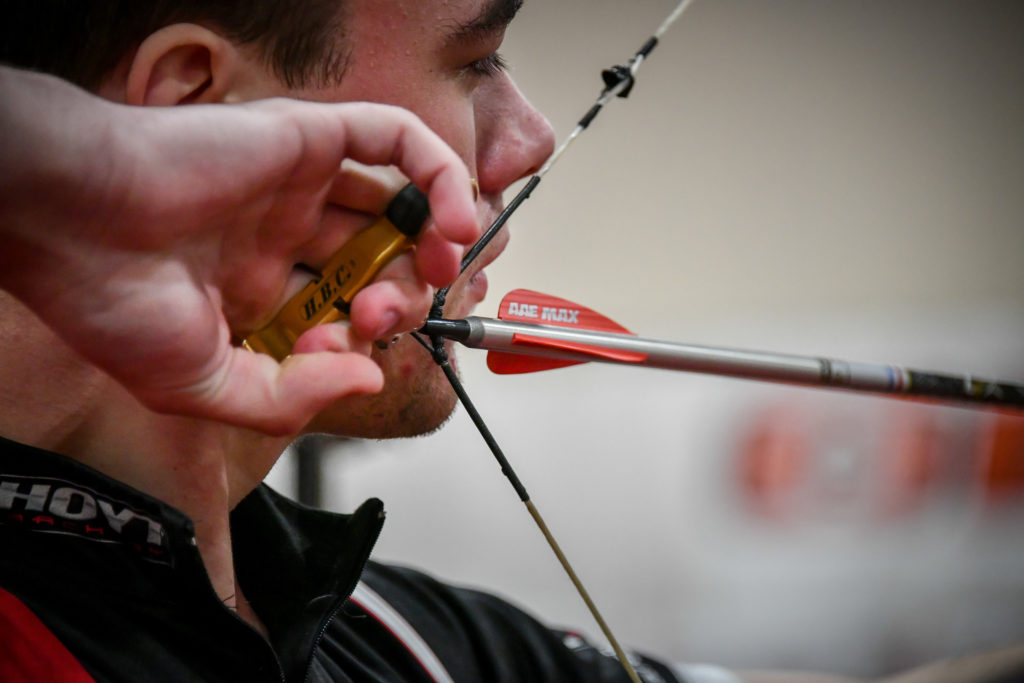
We all know the merits of shooting a well tuned set up, but how much do you really know about the finer points of compound tuning? Micro-tuning is often overlooked but it’s an important part of your set-up procedure, especially when you haven’t been able to practice or compete much.
If you’re feeling a bit rusty a highly tuned bow can often save the day and help you find you those precious few points you need. In this guide you’ll find some of the more overlooked micro-tuning methods you can use to boost your post-lockdown performance.
Micro tuning comes after your initial equipment tune, so it’s important you carry out a basic set-up before you start. This means that you should make sure that your cams are in sync and your draw length is comfortable, you should also check that your arrows are the correct spine and are sitting straight in your bow.
A bullet hole or at least a small tidy tear on a paper test will confirm that everything is where it should be, however if you get a large tear through paper try to fix it before attempting to micro-tune.
Fine tuning your aim
Micro tuning isn’t all about tweaking your arrows and rest; one of the most overlooked parts of this process is fine tuning the way your bow aims. If you can’t aim steadily then your arrows will group sporadically, making it difficult to diagnose any tuning issues you may have with your bow.
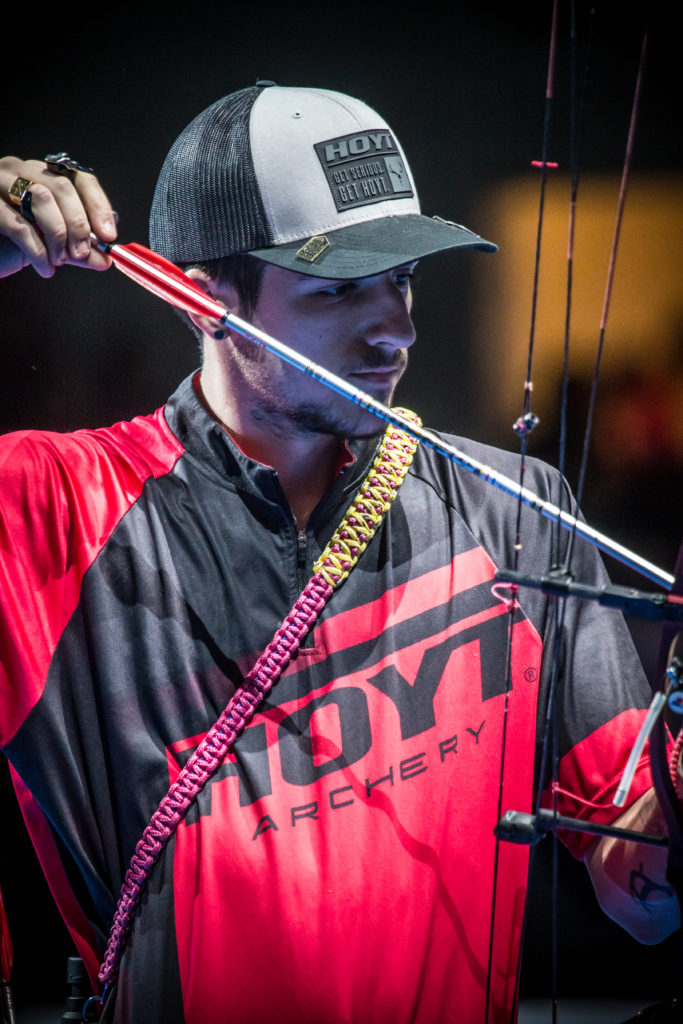
Observing your bow’s aiming pattern will help you to identify which fine tuning methods you need to use to achieve a steady, predictable hold over the target. Does your bow bob up and down the target? Is it moving left or right? Is it making fast, constant movements that never seem to settle? Or does your bow seem to initially hold well but then make jerky movements once you start to execute the shot?
These aiming patterns are suggestive of what changes you need to make, so pay attention to what your set-up is telling you as not all aiming problems can be fixed by adjusting your stabilisers. It’s possible you may be experiencing more than one of these aiming patterns, if this is the case work through the following micro-tuning methods systematically in order to avoid confusion…
Option 1: Micro-tune your draw-length
Being in correct alignment at full draw is important if you want to achieve a stable hold over the target; if your are under or over drawing by even a small amount your body will be out of alignment, meaning more of the load will be put on your muscles rather than your frame. This increase in muscle tension will often create more bow movement resulting in an unstable aiming pattern and difficulty in correctly executing the standard shot.
If you find your bow constantly moves around the target and never settles then your draw length may be a little too long; just one or two twists out of the cables or into the string can shorten your draw length enough to see a big difference in your holding pattern.
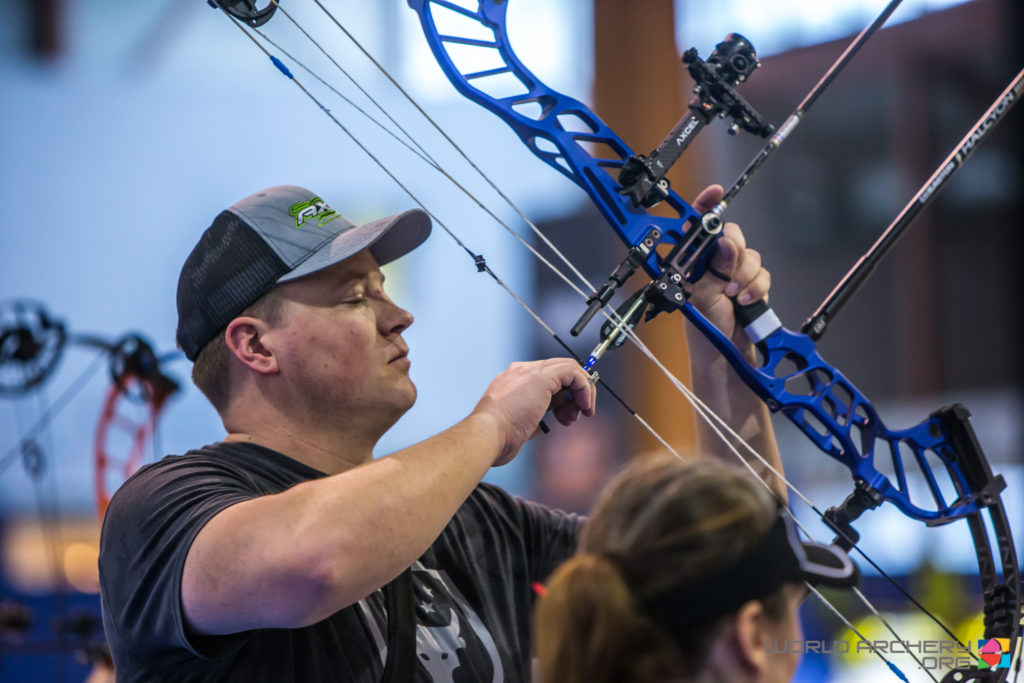
If however you find that your bow holds well initially but gets suddenly erratic once you start to execute the shot, your draw length may be a little short, so lengthen it a fraction by putting one or two twists into the cables or taking them out of the string.
Once you have made the adjustments shoot a few ends to see if it’s helped, it can take a bit of experimentation but you should find a point where your bow will float slowly and predictably over the centre of the target.
As this process uses the string and cables to micro-adjust your draw length, you need to ensure that your cams remain in sync; double check them every time you make an adjustment and re-sync them if necessary. If you use the string to make adjustments take note of your peep sight rotation and ensure it continues to come round straight to your eye.
Poor alignment can create a number of different aiming patterns; if the line of force between your bow hand and release aid is not straight your bow can pull to the left or right of the target during the shot. If adjusting your strings and cables hasn’t improved this particular aiming pattern then try fine tuning the length of your D-loop instead.
The D-loop is often overlooked when it comes to draw length but it plays an important part in achieving good alignment and consequently a solid hold on the target. As always make micro adjustments and test each new length thoroughly before moving on, remember that you may also need to adjust your peep height slightly in order to maintain a solid anchor point.
Option 2: Micro-tune your nock point
If your bow constantly dips below the centre of the target or pulls above it during the shot, you may need to adjust the position of your nock point. There are two points of contact with your bow; the grip where your bow hand sits and the nock point where you attach your release aid.
In order to achieve a steady hold on the target there needs to be a balance between these two points, this is largely pre-determined by the manufacturer when they designed the bow, but you can influence this slightly by adjusting the position of your nock point on the string.
Most manufacturers recommend you tie the nock point so that the arrow runs level through the middle of the rest mount holes, 90 degrees to the string and this is the best starting point when you are setting up your bow. However if you find that the bow is constantly dipping below centre you should try moving your nock point up slightly to see if it fixes the problem.
Alternatively if the bow pulls high then try moving the nock point down the string. Don’t forget to move both your peep sight and arrow rest height by the same amount in order to maintain a comfortable reference point and to keep your bow in tune.
Remember this is micro-tuning, so you only need to move your nock point a small amount before you should see a big difference in the way the bow holds. If you get to the point where it is higher or lower than the rest mount holes and there is no improvement, set it back in line with the middle of the holes and try a different micro-tuning option.
Option 3: Micro-tune your stabilisers
Your stabilisers have an enormous effect on your aim and consequently where your arrows hit. As a result they can produce nearly every different aiming pattern you can think of along with varying different results at the target.
Your stabiliser set-up is entirely dependent on your strength, the inherent behaviour of your bow and your own shooting style. Hopefully as you have carried out a basic tune you will have a good idea of what set-up you shoot best with, but if you are still getting some specific aiming patterns you could try making micro-adjustments to your stabiliser weights.
Do you get a dipping action while you aim with the occasional low arrow? Try removing a small amount of weight from the front stabiliser or add some to the rear to see if this improves your aiming pattern.
If however the bow feels flighty and you tend to get the occasional high shot try adding a little weight to the front stabiliser or remove some from the back. If this doesn’t fix the problem then you could try adding some mass weight to your bow to make the whole set up heavier.
This will also help when shooting in the wind, just be careful not to overdo it as an overly heavy bow will be difficult to hold up and will cause a shaky, erratic aiming pattern as well as a potential injury. Single weights can range anywhere from 0.5oz to 3oz or more, so try adding or taking away only one or two at a time, remember this is micro-adjusting, we are not trying to completely overhaul your set-up, only tweak it.
If adding or removing weights does not improve your aim try micro-adjusting the angle of your stabilisers; pointing your long rod down slightly helps to create a pendulum effect, much like placing side bars at the bottom of your riser. It produces slower movement and causes the bow to behave as if it has more weight on it without having to add any extra mass.
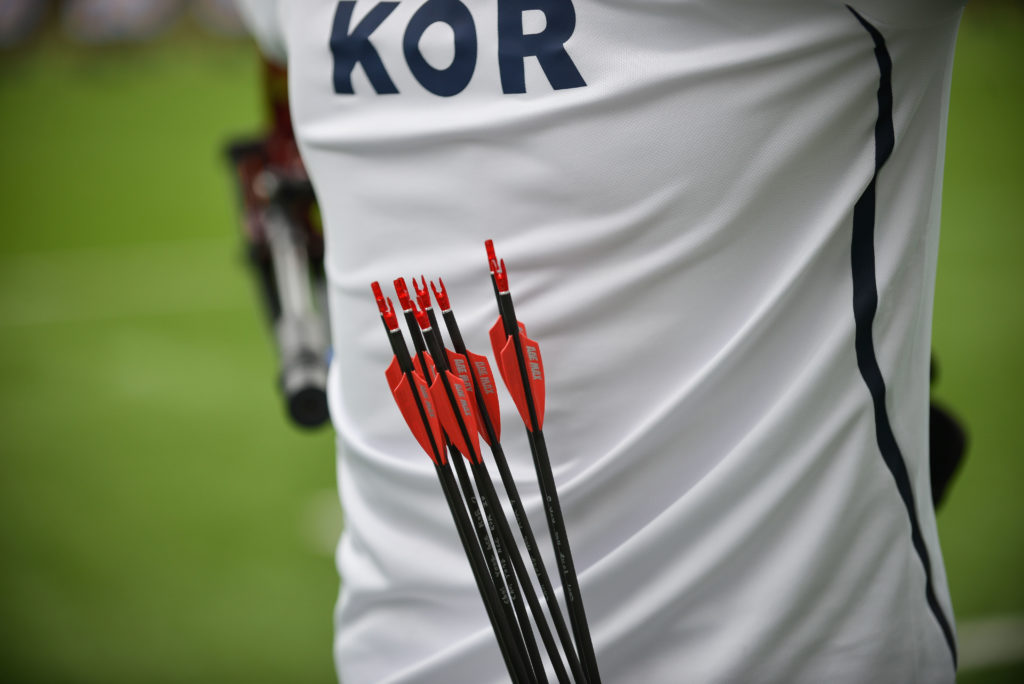
Adjusting the position of your side bars works in much the same way; angling them down will help to slow your sight pin and can help to eliminate any dipping and bobbing you may be getting.
Angling them away from the bow will cause it to tip to the side, which can help counter-balance your sight and any torque you may put into your shot. If you move them too far out though your bow will be difficult to keep upright and will pull off-centre while aiming.
Fine tuning your arrows
If you are happy with your aiming pattern and the way your bow holds but your results at the target are still unsatisfactory you’ll need to micro-tune your arrows.
During your initial set-up your arrow should be positioned so it’s sitting centrally in the bow and at 90 degrees to the string; this is confirmed by the paper test, which should show a bullet hole if the point and nock are perfectly aligned when leaving the bow.
While this seems the most logical position to set the arrow it doesn’t always give the best results at the target. As there are many different forces applied to both your bow and the arrow in flight, having it leave the bow perfectly straight can sometimes produce inconsistencies.
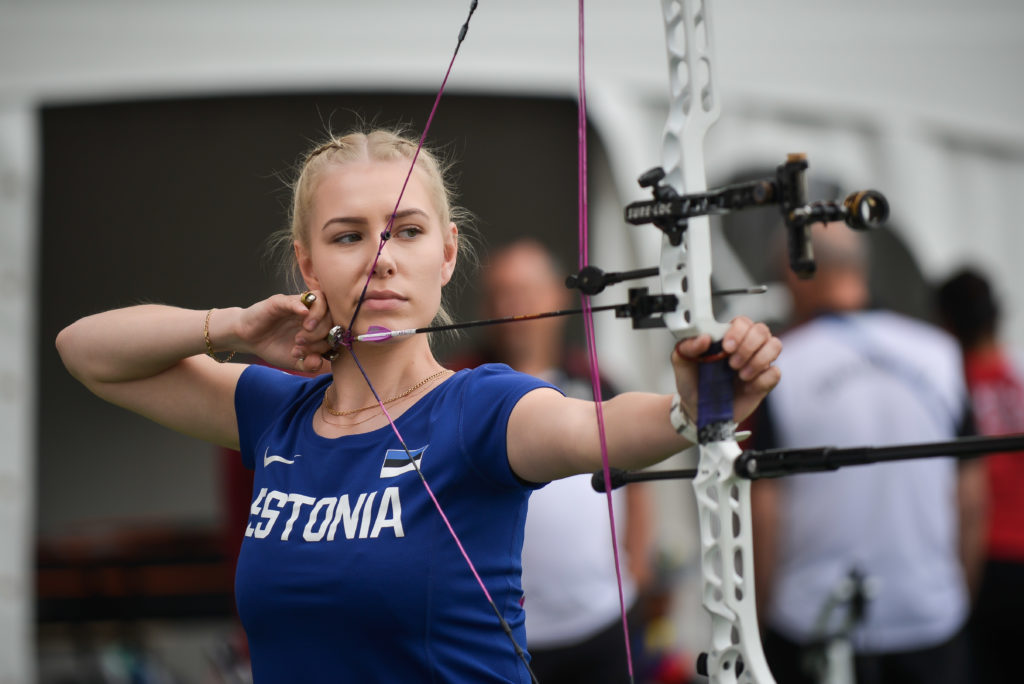
Option 1: Group Tuning
Group tuning your arrows by making small adjustments to the height of the arrow in the bow can remove any unpredictable shots and unlike moving your nock point, it won’t affect the way your bow sits on the target.
As your arrow is starting off in a flat, neutral position it is advisable to only ever move your rest down when micro tuning; if you move your arrow rest up, so that the nock is sitting below square, it increases the likelihood of contact with the arrow rest which will negatively impact your results.
Remember to make only micro adjustments; moving the rest down by one millimetre at a time is more than enough when group tuning and don’t forget to use a bow square to take measurements as you go, that way you can accurately note which rest height worked best or return it to its original position if needed.
Shoot a short round with each new rest position and compare your groups and score; once you have found the rest height that gave the best results set it back to this position and make a note of it so you can quickly reset your bow should anything on your set up move.
Option 2: Arrow Tuning
When it comes to arrows most of us simply consult the manufacturer’s arrow chart and select the spine that’s recommended for our draw length and poundage – and this is a great place to start. But the spine of an arrow and the way it reacts with your specific set up isn’t so black and white.
Variances between equipment and shooting form mean that even an arrow that seems perfect on paper may need a little micro-tuning to get the best results from it; this isn’t as complex as you may think yet it is an often overlooked part of the tuning process.
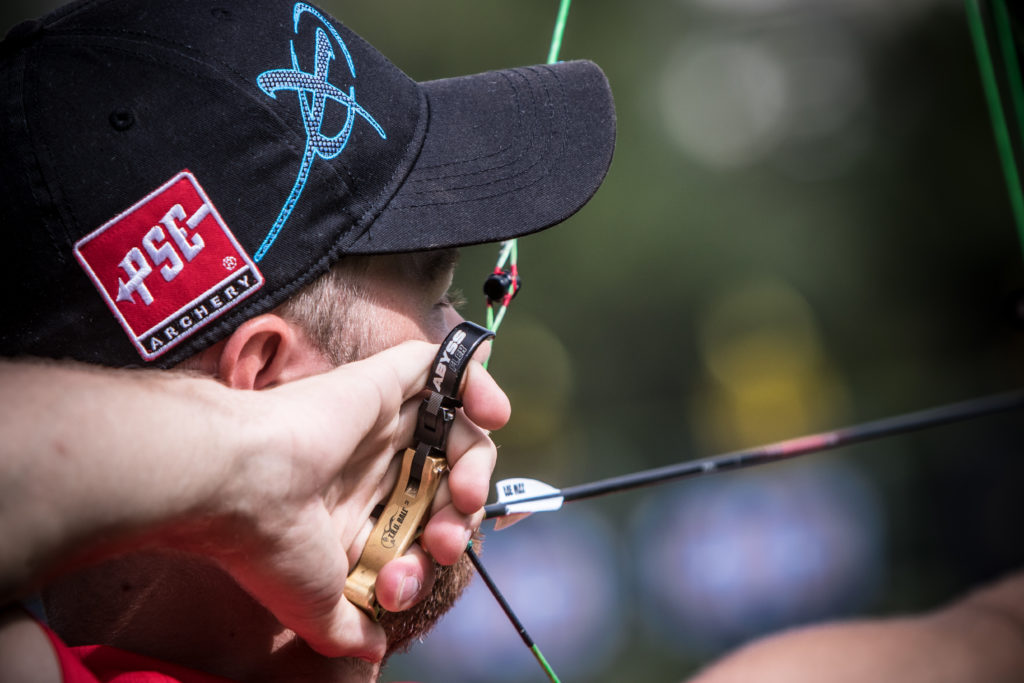
In order to micro tune your arrows you’ll need to alter their spine slightly; this is usually done by changing the length of the arrow. The shorter the arrow the stiffer it will be, while the longer it is the weaker it will be.
However, cutting your arrows down is a one way street and can be a costly mistake if done in error, so how do you fine tune your arrow spine without the risk of ruining them? The easiest way is to adjust your bows poundage, as increasing or decreasing your draw weight a small amount will have the effect of making your arrows react a little stiffer or weaker.
First observe how well your arrows are grouping and pay particular attention to the left and right spread of the group. Then decrease your draw weight slightly by a couple of pounds, one turn out of the limb bolts should be enough to start with.
Shoot a few more ends and note if the left and right groups are any tighter, if they are you could try taking a further turn off the limbs to see if they improve further. If they get worse you could try increasing your draw weight instead to see if this helps.
Be careful not to wind the limbs out further than the bow manufacturer recommends or to increase your poundage to the point you are struggling to draw the bow. Once you have an idea of what poundage your arrows group best with, you can either keep the bow set at this weight or make the necessary adjustments to your arrow spine and return the bow to its original setting.
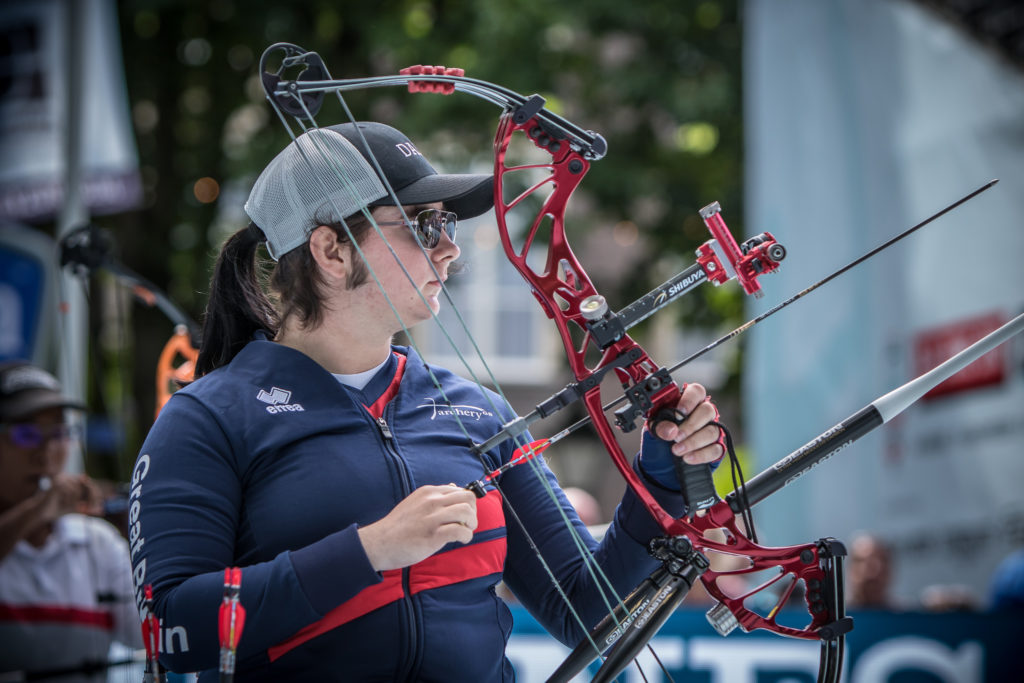
You can achieve similar results, albeit on a smaller scale, by altering the arrow point weight; however this will change more than just the spine, it will also change the arrow front of centre. So it’s best to use the above method first before moving on to fine tuning the points.
Make sure you have a good selection of point weights to try out; there is a much wider choice for indoor arrows than outdoor ones, but even ten grains difference can completely alter the way your arrows group, so it’s worth trying out as many options as possible.
As before shoot several ends and make note of how your arrows group and react to a bad shot, then swap the points over for some lighter or heavier ones and test again. Systematically work your way through all the different weight options you have to see which ones give you the tightest groups and are the most forgiving of any errors in your form.
Hopefully at the end of the micro-tuning process your bow will be shooting better than it ever has. World Archery have already recognised 24 new world records since mid July. Could this be because archers have had more time to micro-tune their equipment? Why don’t you unlock your bow’s full potential and see what micro-tuning can do for you?

