The indoor season has its own particular set of challenges – and getting wide arrows to tune can be one of them. Duncan Busby explains how to set them up for optimum performance
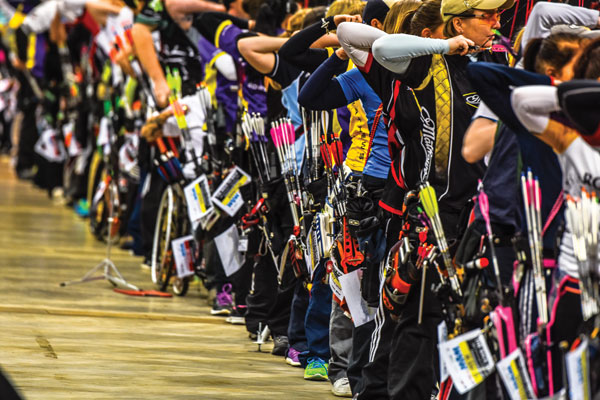
For archers shooting lower draw weights a small sacrifice in arrow diameter will make your arrows infinitely easier to tune
It’s that time of year again and, like it or loathe it, the indoor season has begun. Whether you plan to attend as many tournaments as possible or just shoot a few rounds at the club, most archers will want to give themselves an edge by using ‘fat’ arrow to maximise their line cutting potential. Arrow manufacturers produce a wide range of shafts and many of their indoor offerings comply with World Archery’s 9.3mm maximum arrow diameter, but due to their size and stiffness they are notoriously difficult to tune. However, with a little know-how perfecting your indoor set up can be quick and easy. As with outdoor tuning, setting your equipment up for indoors is all about getting your arrows flying as straight as possible and the first step is to make sure your arrows are the correct spine for your bow.
Once you have decided which arrows you want to use you’re going to need to choose the right spine. I would always recommend first consulting the manufacturers’ spine selection charts for their recommendation and then, if you have access, use a spine selector program like Archers Advantage. The most obvious choice is to go for the ‘fattest’ arrows you can legally shoot, such as Easton’s X23 – if you are shooting between 50 to 60lbs this is a great choice, but for archers shooting lower draw weights a small sacrifice in arrow diameter will make your arrows infinitely easier to tune. Additionally, when choosing an arrow spine you will need to consider what length to cut your arrows, as if you do decide to shoot a heavier spine you may need to keep them a little longer than your outdoor arrows in order to compensate for this.
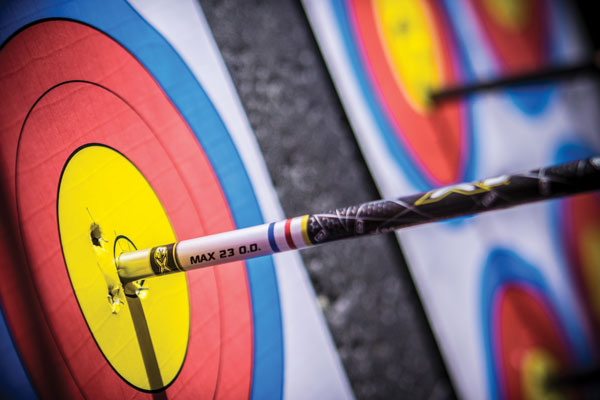
Many compound archers will switch to the widest-diameter shafts they can get away with, but very wide arrows can be tricky to tune on lower poundage bows
I would also recommend having a good selection of point weights to choose from as these can be an invaluable tool when it comes to fine-tuning your arrows. You should start tuning with the manufacturer’s recommended point weight, which is usually around 100 grains, before working your way through the different weighted points to see which ones produce the best results.
The type and size of vane you use with your new arrows will also have an effect on the way that they tune; there is no right or wrong vane for indoor use, although most archers will choose longer vanes to help straighten up their arrow flight as quickly and effectively as possible. It’s important, however, to watch out for any clearance problems that can be caused by larger vanes and you should consider a lower profile option if you have arrow contact with any part of your bow. You could also try feathers rather than plastic vanes as they’re less affected by clearance problems, and as they can help to produce straighter arrow flight they’re considered by many to be more forgiving than the plastic alternatives.
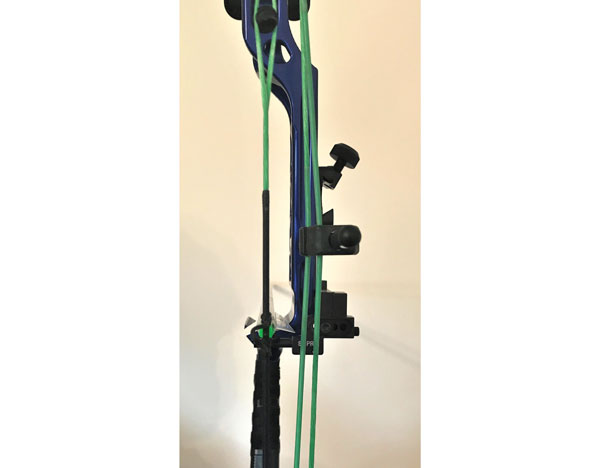
Set the initial centreshot by lining the string up with the centre of the bow, then lining the arrow up with the centre of the string
Most companies make high quality nocks for large diameter arrows so choosing the ones you prefer or those recommended by the manufacturer is just fine, but you should make sure that they fit your centre serving; there is nothing worse than your arrows falling off your string or flying badly due to poor nock fit.
Once you have your new larger diameter arrows assembled you will need to set up your bow to shoot them. To begin with you’ll need to tie on your nock point; set this at 90 degrees to the centre of the rest mount hole as you would with your outdoor setup, and make sure you tie it tight so you won’t run the risk of it slipping. At this point you should also tie on your D-loop.
Once you have fitted your arrow rest you’ll need to set its centre shot position; to do this nock an arrow on the bow and look down the back of the shaft from behind the string. Line the string up with the centre of the bow and then make sure the arrow lines up with perfectly with the string, now tighten your rest to fix it into position; if you struggle to do this by eye there are devices that help to line up your centre shot for you.
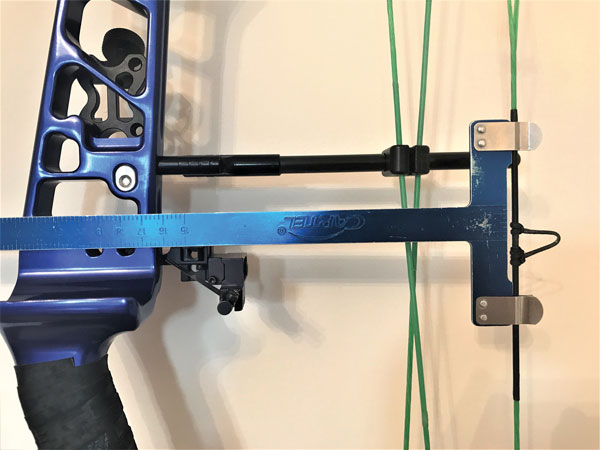
Start with a nock point 90 degrees, and attach your D-loop
Finally, you need to set your rest height. Again, nock an arrow onto your string and look side on at your bow, then set your rest so that the arrow is running through the middle of the rest mount hole then tighten it down. This should give you a level nock point with the arrow sitting at 90 degrees to the string, which is a great place to start your tuning, and you can also use a brace gauge to do this if you find it easier.
If you use a blade style rest you will need to consider which width and thickness to use; blades come in several different sizes in order to accommodate different types of arrows, although most archers (including myself) use a 0.010 narrow blade for indoors. If your arrows are too heavy for the 0.010 blade and cause it to flex more than it should, a 0.012 blade may be more suitable. And if you find it difficult to keep larger diameter shafts on the rest while drawing your bow switch to a wider blade instead.
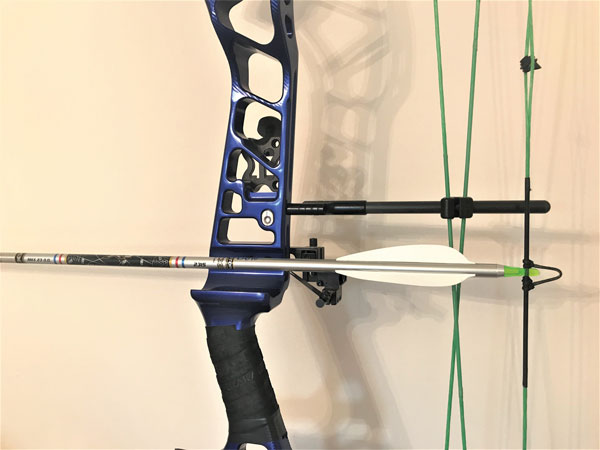
Begin with your rest set so the arrow lines up with the middle of the rest mount hole – this is a good base to start tuning from
Now that you have your equipment set up you are ready to start tuning. The first step in indoor tuning is the paper test, as this gives you a clear view of your arrow flight as it leaves the bow. You should assemble your paper frame and stand as close as possible, shoot an arrow through the paper and examine the hole you’ve created. You should aim to achieve a clear bullet hole, and if you find that your arrow caused a tear you will need to correct this before you move on (to diagnose and correct your results, I would recommend getting hold of a tuning guide. There are many available online or from your local archery shop, but I would personally choose the ‘Easton Tuning Guide’ as it’s clear and comprehensive).
Once you have got your bow shooting bullet holes at close range you will need to repeat the paper test from a longer distance, so walk back two or three metres and shoot the test again. Hopefully you will still be shooting a bullet hole, however, if you find your tear opening up go back to your tuning guide and make the necessary adjustments until you are shooting one at this distance as well. You will need to keep moving back two or three metres at a time and continue to re-test until you get a bullet hole all the way back to 18 metres. At this point you can be confident that your arrows are flying straight all the way to the target.
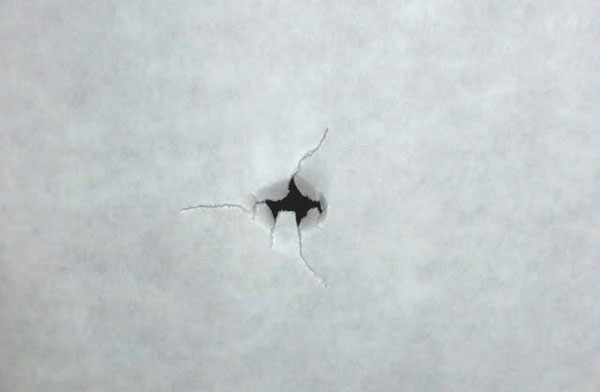
A perfect bullet hole indicates your arrow is flying straight
It’s worth bearing in mind that a paper test is very critical when it comes to shooting form, and any amount of torque or uneven pressure on your release can give a false result. Certain styles of stabilisation can also affect the outcome, so if you find you need to set your arrow a long way from centre in the bow in order to achieve a perfect bullet hole it may be worth looking into these possible issues first.
Many archers also choose to perform a bare shaft test to further check the tune of their equipment. To do this, you should stand at 18 metres and shoot an end at a target face with fletched arrows, then you should shoot an un-fletched arrow into the same group. If the bare shaft hits high or low of the fletched arrows then you will need to adjust your rest height, if it hits to the left or right then you may need to make adjustments to the arrow spine to correct it.
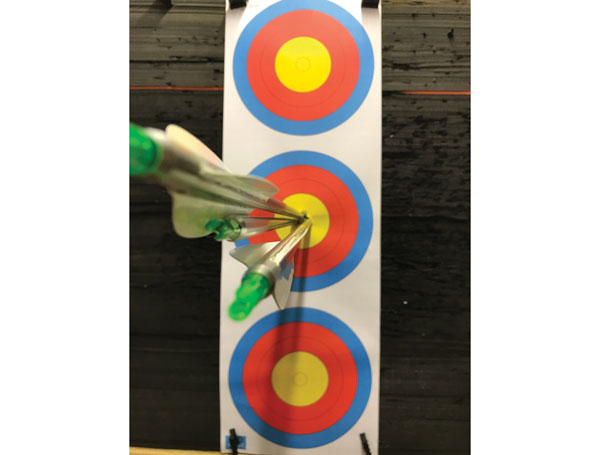
A bare shaft test is a god way of further checking everything is in tune
Before making any costly arrow changes you should confirm a spine problem by adjusting your bow’s poundage and re-shooting the test. If it’s changed the impact point of the bare shaft then you’ll know if you need a stiffer or weaker spine and you can make the necessary adjustments. If it hasn’t made any difference there may be other factors to take into account. The bare shaft test is also very dependent on shooting form so remember to take this into account; if your equipment needs to be set in an illogical way to get perfect results from either of these tests, then a poor tune may not necessarily be the problem.
By this point you should have a good basis to start shooting indoors, and you can now move onto fine tuning your arrows using the different weight points I mentioned earlier. Point weight has a huge affect on your arrows and how they perform but it can be a complicated process; so before you complete your indoor set-up, look out for my guide on choosing the correct point weight in the next issue of Bow International.
This article originally appeared in the issue 120 of Bow International magazine. For more great content like this, subscribe today at our secure online storewww.myfavouritemagazines.co.uk

