The sheer array and technicality of archery equipment can be a bit bewildering for a first-time buyer, but Andrew Smith’s handy guide breaks down everything you need to know before you buy
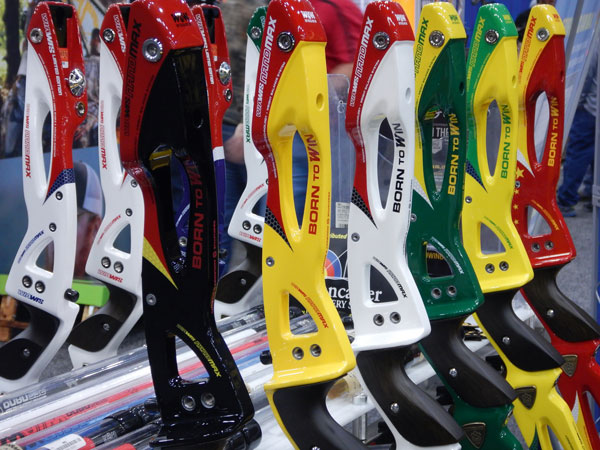
The only way you will
know if a bow is suitable for you is to shoot it
Your first bow is a very important choice as it will be your introduction to real archery. A well-chosen and correctly set up bow will help you to progress, improve your technique and boost shooting enjoyment. We have a lot of choice available these days, so to simplify the process here is a guide to help you.
Step 1: Where to buy
An archery shop is the safest option; they have the facilities to allow you to shoot and try out various bows under experienced guidance. Archery shops are staffed by very experienced archers who are trained and used to helping archers select the right equipment, and can often offer additional form advice when you are trying bows. Essential facilities such as shooting ranges and experienced staff are expensive, so overall a shop is likely to cost a bit more than buying boxes from the internet, but when you leave you will have suitable equipment, correctly set up as well as somewhere to ask questions if you have a problem.
Buying online is popular. The main reasons given for this are cost and time, although the time saving is questionable as it is down to you to do all your own pre-sales research. Additionally, when you receive the goods it is your responsibility to learn how to set it all up (or find somebody to help) – there is no such thing as out-of-the-box manufacturer’s settings, especially for a recurve.
There is also a lot of used equipment available on auction sites and from club members. All the caveats mentioned above about buying online apply to these. Used equipment can save you a lot of money, but only as long as you are confident that the equipment is in good, safe working order and right for you.
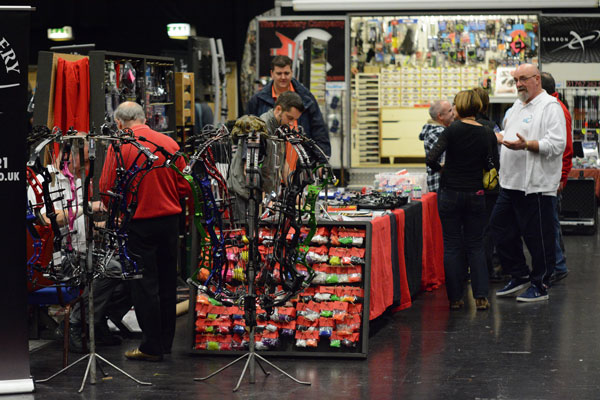
There’s a lot of choice out there for the first-time buyer, so how do you know what you’re getting is right for you?
Step 2: Set your budget
“Buy cheap, buy twice” is a phrase you might be familiar with, and there are two opposing opinions on this when it comes to choosing your first bow. Firstly, “Buy the best riser you can afford and cheap limbs as they will be changed frequently,” and secondly, “Buy a low-cost riser and limbs” with a view to upgrading both or either when your ability and budget allow. Neither option is wrong, and your choice will be dictated by how much you want to spend and your archery ambitions.
I have listed some guide prices below, which include all the basic equipment to get you up and running. I thought this would be more useful than just an average bow price, so you don’t get too much of a shock at the checkout, as the cost of the accessories can soon mount up.
Beginner: Typically a wooden takedown bow like those used on your beginner’s course, £200
Intermediate: Modern ILF/Formula metal take down bow, £350-£650
Experienced: Top of the range bow, £1,500 to £2,500
Step 3: Measurements you need to know
If you are buying used or online you will need to know the following measurements, but if you are buying from a shop these can be accurately measured at the time of purchase. These measurements will be used to select the most efficient bow length and your arrows.
A) Your real draw length. A club coach can help you with this, and it is measured using a draw length arrow.
B) Draw weight: Once you have tried limbs and settled on a starting draw weight, the real figure is likely to be different to what is marked on the limbs – the only way to know how much draw weight you are shooting is to measure it with a bow scale (shops should have these available).
C) Arrow length: As this will be your first set of arrows, about an inch extra will be added for safety. Your arrow length will be longer than your draw length.
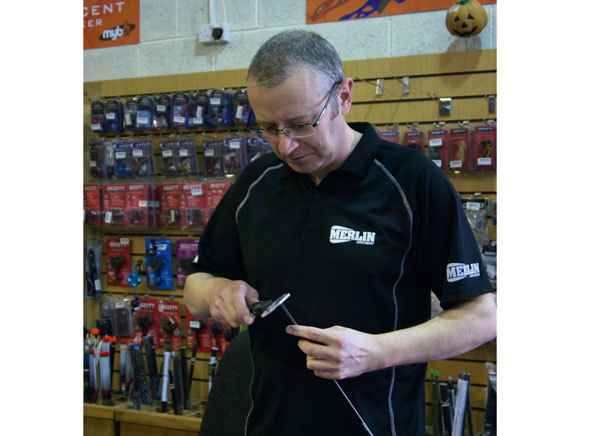
An archery pro shop will have staff that can help you choose, and even set up your bow and build your arrows for you
Step 4: Selecting the bow
For storage and transportation, modern recurve bows are typically a three-piece take down bow comprising a riser and a pair of limbs.
Here are some considerations and the things you need to know to help you make your decision:
1) Decide on the Limb fitting
There are two standard systems by which the limbs fit into the riser: ILF (international limb fit) which allows you to mix and match limbs and risers with the same fitting from different manufacturers; and Formula, a proprietary system from Hoyt USA. Both have their qualities – ILF is still more popular at all abilities because it has been around for 30 years and greatly extends your equipment combination options.
2) Riser material
The most common material used for risers is aluminium, followed by carbon and then wood.
Aluminium risers are not all made the same, or out of the same quality raw materials, and this is reflected in the price. There are three popular construction methods: CNC machined, drop forged, and cast. The more expensive risers tend to be CNC machined, whereby the shape is cut in high-tech computer controlled milling machines. The clue with dropped forged is in the name – a block of aluminium has the shape punched out by dropping a heavy mould on to the blocks of aluminium and the finishing is done on a CNC machine. Finally, cast risers are made when molten aluminium is poured into a sand mould.
Manufacturers each have their own ideas about what makes a good riser. Of the popular brand names, Hoyt has gone down the CNC route, while Win&Win (top of the range and intermediate) and Sebastien Flute (intermediate) prefer the drop forged process. Finally, entry-level risers like the popular Core Air are cast, although a few years back some top range Olympic medal winning risers were also cast. All three methods have a different shooting feel, and the standard of finish is again reflected in the price.
Carbon risers are now popular, and price-wise sit in the intermediate to upper price ranges. Carbon and carbon hybrid risers give the designers more scope to control the final properties of the riser in terms of how it flexes and the vibration dampening. Surprisingly, only Fiberbow uses the unique light and strong properties of carbon fibre to produce a light top-of-the-range riser. This lightness allows many archers at all levels to shoot a recurve bow when the weight of a conventional metal bow is just too heavy.
Wood is not so popular in target archery these days; there are specialist bowyers that do offer crafted wooden target bows, but the wooden bows seen at most clubs are low-cost training bows. They do exactly what it says on the tin and are OK to get you started, but a quest for shooting longer distances with greater shot consistency will see you changing equipment quite quickly.
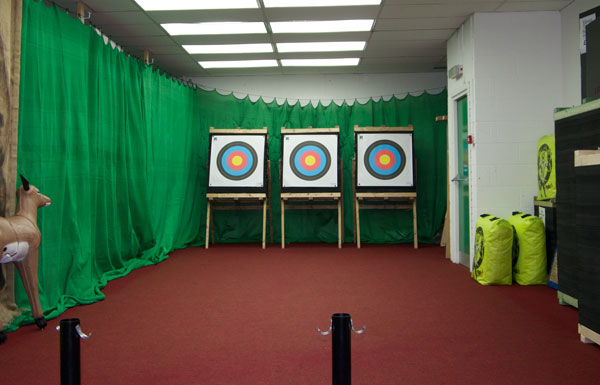
Most decent archery shops will have in-house ranges for you to try equipment before you buy it
3) The grip
It is quite common to hear archers commenting after picking up a riser in a shop or down their club that they do not like the feel of the grip. The problem is when you pick up a bow you are not replicating the correct shooting hand position, so it is essential to evaluate the fit by shooting the bow. If it feels wrong, it could be the shape of the grip or it could be the positioning of your hand.
4) Accessories
It is important that the riser has all the standard threaded bushings required to fix all the bow accessories to the riser – sights, stabilisers and clickers. For barebow archers it is helpful to have a stabiliser bushing near the bottom limb pocket to allow you to attach a weight low down to help with the vertical balance.
5) Bow length
Most target risers come in 23, 25 and 27 inch versions. In most cases an adult archer will be looking at a 23 or 25 inch riser, which when paired with the appropriate length of limb (limbs come in Short, Medium or Long varieties) will give the most efficient bow for their draw length. For most physically fit adults with a draw length between 26 and 31 inches I would suggest opting for a 25-inch riser paired with short limbs for draw lengths of 26 to 28 inches, medium limbs for draw lengths of 28 to 30.5 inches, or long limbs for draw lengths of 30.5 inches and over. This is by no means set in stone; it’s just a guide. The final solution will be specific to each archer.
6) Colour and finish
For many archers the look and colour of the bow is very important, and risers are available in a variety of colours and finishes. Painted and anodised finishes are the norm. Carbon risers tend to have a matte lacquer finish, and the toughest finish is anodised. While both paint and lacquer offer good protection, they will chip if mistreated, while anodised finishes just tend to get scratched.
7) Mass weight
Intermediate/beginner risers tend to weigh in from 900g to 1,150g, and most top of the range risers except for the Fiberbow (600g) are 1,200g plus. It is important to remember that once you have attached a sight, longrod, button, arrow rest and limbs you will have added around another 1,000g to your set up, so take this into consideration.
8) Limb choice
It is likely that the limbs you buy with your first bow will need to be upgraded as you become archery fit and your form improves. So, thanks to modern production methods, spending more than £100 on a pair of standard glass/wood limbs at this stage is not necessary.
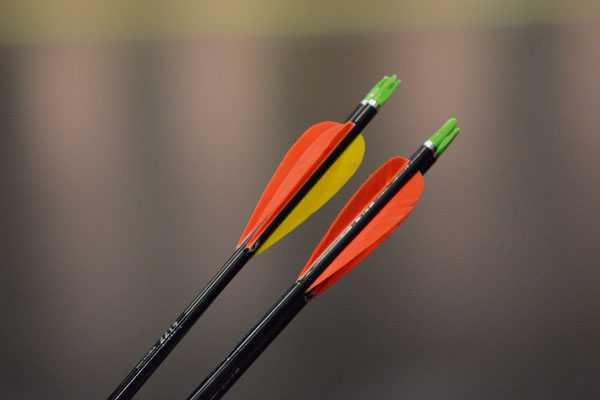
Buying your first bow is exciting, but as I mentioned earlier it is important that your equipment is matched to you
9) How will I know if the bow I choose is suitable for me?
The only way you will know if a bow is suitable for you is to shoot it. Do not be surprised if you feel little difference between the ones you try – sometimes there will only be a small detail that convinces you that you like one bow over another and that might just be the look or colour. When buying from a shop, don’t be afraid to ask questions and give feedback such as, “This is too hard to draw back” or “The grip doesn’t feel quite right.” The staff can guide you, explain why one bow might feel different or work out better for you, and suggest alternatives.
There are some big brands in archery such as Hoyt and Win&Win. However, there are many more lesser-known brands stocked by archery shops that may offer you better value as a new archer. These brands also help to keep prices low and make archery more accessible, without you having to worry about shooting substandard equipment.
Buying your first bow is exciting, but as I mentioned earlier it is important that your equipment is matched to you, as this will provide you with a stable platform on which you can build and improve your technique.
We are very lucky these days because we have access to a vast array of quality equipment. Manufacturing costs have dropped, so equipment considered top of the range a few years ago is seen as intermediate or entry level today. You will always get what you pay for in terms of build quality and reliability, but the scores differential is not as wide as some would like to think. Nowadays it is difficult to blame the equipment for any failures, whatever your budget.
This article originally appeared in the issue 112 of Bow International magazine. For more great content like this, subscribe today at our secure online store: www.myfavouritemagazines.co.uk

